
 This was the picture of the table the seller uploaded on mudah.my.
The colour did not go with my decor but I figured, at that price I do not mind taking the risk of painting it. So, I contacted the seller and we agreed to meet. The seller even agreed to meet us about 3 minutes away from where we are currently staying (Just a note of caution: when purchasing from strangers, try your best to arrange for cash-on-delivery and never meet in private!). My husband and I met the seller in a crowded parking lot, did a once over of the table and it was a deal! When you get a deal like that, I suggest don't walk.. run back to your car, before the seller changes his mind :o)
So, last weekend, we spent half a day working on the table. I managed to coax my husband to make good use of his muscles and help to sand the table (I HATE sanding!). Hey, what do you know, he even sprayed on the primer for me (see how far some sweet coaxing gets you?:o)).

This is how it looks after being sanded by Mr.Muscle (hehe.. thank you, sayang!).
After waiting an hour for the primer to dry (waiting was agony!), I started painting the first coat and found out three-quarter way that I ran out of paint. That was because silly me just decided to use the left over half-can of paint from this project knowing that this was a much bigger table. And the place where I bought the paint was half an hour away, yes, I'm adventurous like that! :o) Soooo.. after another trip to the paint store (where I bought one BIG can of white paint and 3 cans of white spray paint.. why take the risk?? hehe) , I managed to finish a second coat and this is how it turned out:

Tadaa! My "new" white half moon table!

There was some water damage "bumps" on the surface of the table which we could not get rid of so I just covered it with a napkin and a doily. What do you think?

Do you like my apothecary jars which I filled with candles and seashells? I love them!

Now that I have this half moon table, I need to do something about the mirror. I see another paint job in the near future.. :o) so stay tuned!
Twigs & Feathers


 I bought the trivets on the shelves and the matching potholder and oven mitt even BEFORE we bought the house :o) And those tiny spice jars, I decorated them myself.
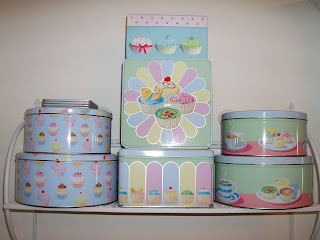


 This is what it looks like with the back cover off.


 Twigs & Feathers
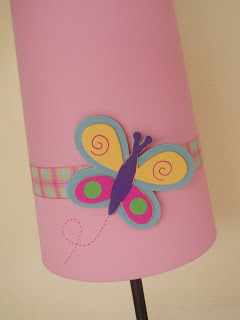 This is the lamp..


 My sweet, sweet girl.. she's such a bundle of joy! I hope she'll grow to love them. Enjoy Amira, mama loves you! :o)